E-paper Calendar
I always wanted a calendar on the wall that would auto update with details from my Google calendar so that I could look at my phone less without the risk of missing important commitments. E-ink seemed like a great choice but seemed prohibitively expensive when I first looked into buying a small screen way back in 2015.
Fast forward to 2022 and I was fortunate enough to be gifted a Waveshare 10.3inch e-paper display from our company CTO who was pursuing similar e-paper-driven tinkering…just weeks before I was due on parental leave for the first time - amazing timing!
However, it wasn’t until I was on parental leave for the second time last year that I actually found the sweet spot overlap of time, energy and motivation to finish version one of my e-paper calendar.
Of course it took even longer to actually write up the build steps; this time prompted by a close friend who’s just embarked on their own fatherhood journey and is keen to make their own version.
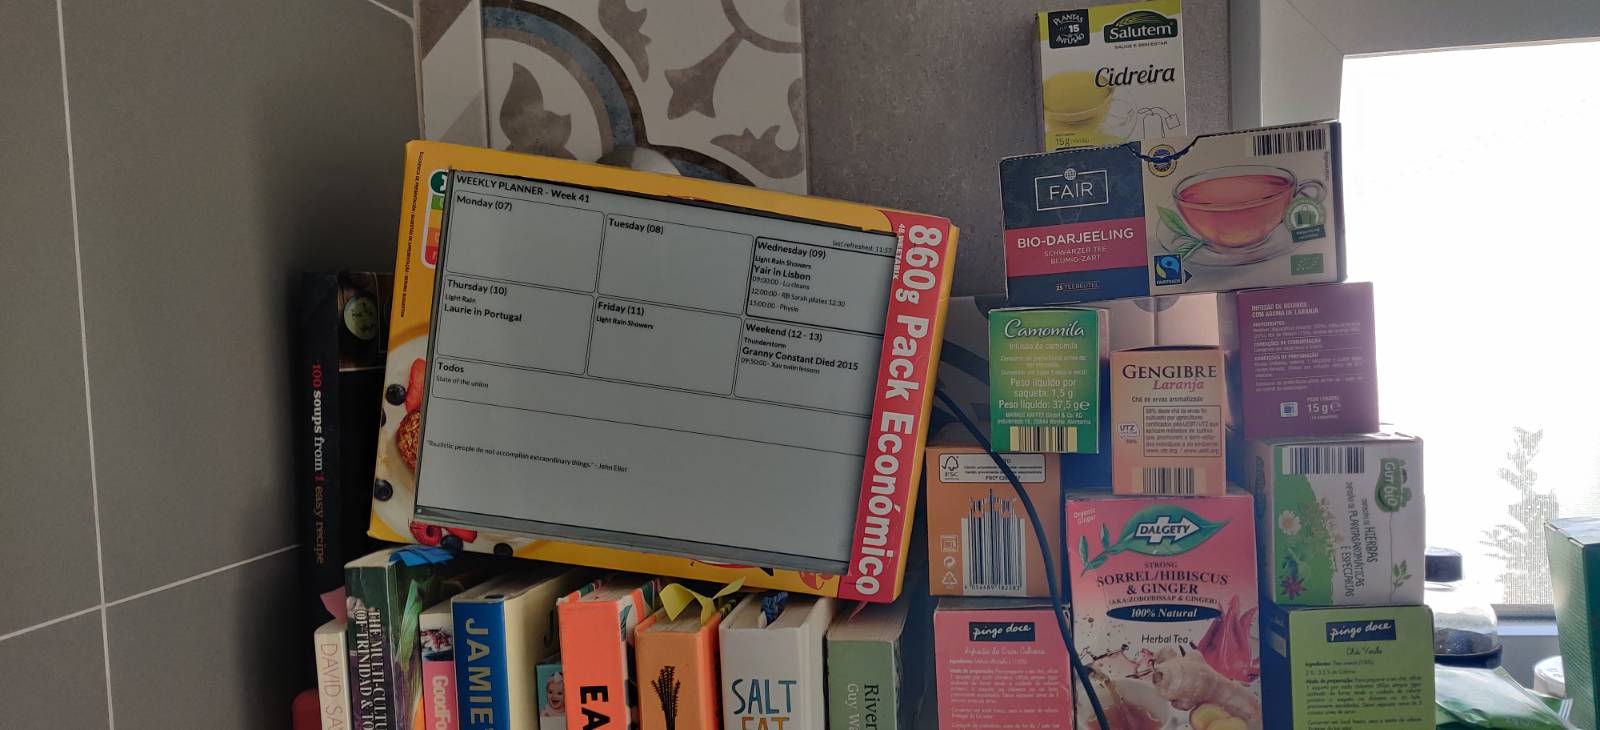
In short, I found a great tutorial elsewhere that quickly got me to a point where the e-paper display was connected to the pi and I could iterate through design ideas for what to display. I kept tweaking the python with the help of some AI copilot prompting to arrive at our kitchen dashboard.
So far, on top of calendar events for the week, it fetches tasks from a Todoist, the weather forecast, and a random wisdom quote each day.
Ingredients
-
raspberry pi zero 2 + a 40 pin connector

- SD card (minimal space required so any will do)
- Waveshare 10.3inch e-paper display
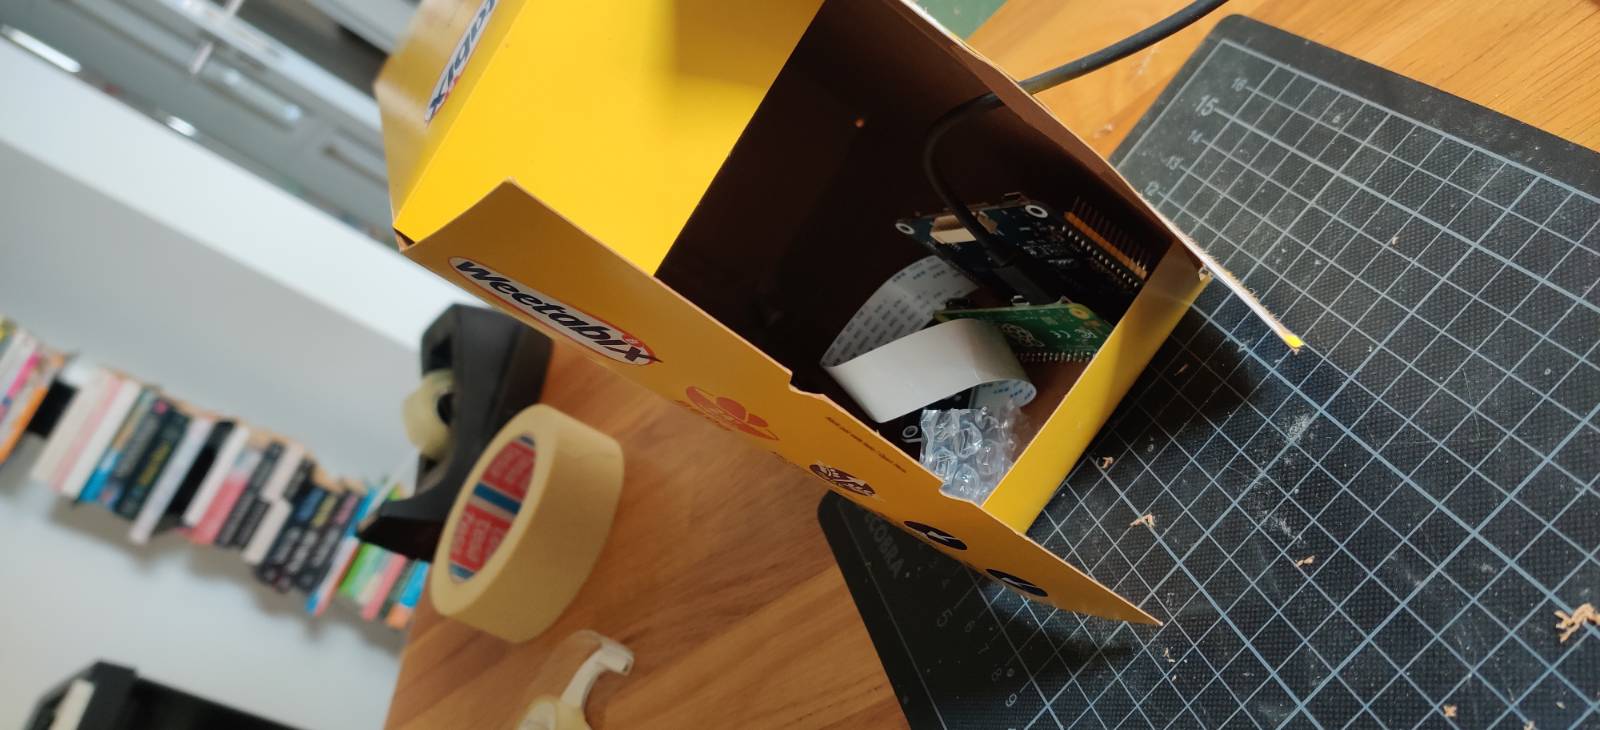
- empty 860g Weetabix box
- a detailed tutorial to get up & running
- some Python flair

Build details
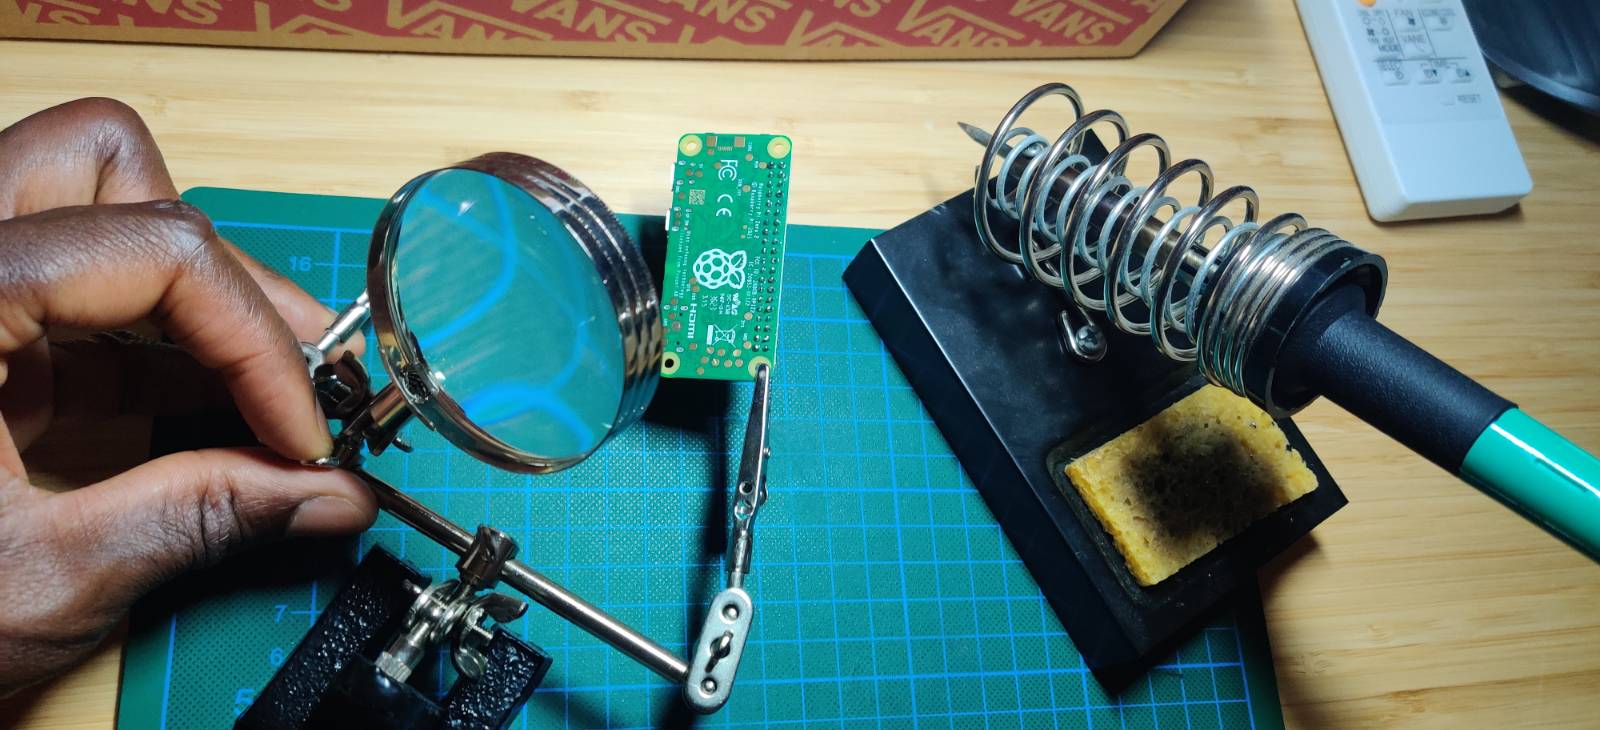
1. Connect the Waveshare driver board to the pi zero, via the 40pin connector. - soldering required.
The Pi Zero 2 is great because it’s small & inexpensive and yet it comes Wifi-ready. The downside is that you need to do a bit of soldering to connect pins to the board, although it took way less time to solder the 40 pins than I bargained for. The main complexity is in setting up the board & pins so they’re fixed in place while you work, while being easy to reach all of them.
2. Follow the tutorial!
3. Tweak the code
I uploaded my final python file here https://github.com/jonnyparris/e-paper - it’s expecting to find a few extra file assets and environment variables in the same folder when it runs (e.g. fonts and api secrets).
4. Cut a hole in the box…
Going Further
The main fuss of the coding step of this is that you can’t just treat e-paper like a browser where you throw it some html and css to get your perfect UI. Instead it needs a bitmap file so you’re basically jumping through hoops to output a bmp image of what you want to show on the screen. My little python script is pretty direct in that it constructs the bitmap from scratch and then draws that to the screen.
In contrast, not long after I had finished, a colleague at work published a tutorial for using a Cloudflare Worker to get you through the steps of converting a webpage to a bitmap ready for your e-paper display. That would unlock a much richer set of design options, although it does involve more work.
On a similar theme of upgraded aesthetics, 3D printing a purpose-built housing for the display at the PCBs feels like a perfectly scoped starter project to discover the end-to-end 3D printing process.